
Quilting 101: Make a log cabin block

Who doesn’t love a log cabin block? Whether you’re a beginner looking to try quilt piecing for the very first time, or you’ve been quilting for decades; whether you love traditional designs or a more modern look, log cabin blocks are everybody’s friend! In fact, a log cabin is a perfect first block for brand-new quilters, so if that’s you, don’t be afraid to jump right in. The great thing about log cabins is that they look complicated, but there are no seams to line up, so it’s a forgiving design.

1. Cut the pieces.
Let’s start by cutting our strips. All of the strips shown above are 2.5” wide, and the lengths should be cut to the dimensions as labeled. (By the way, this block is perfect for jelly roll strips! If you’ve got a jelly roll sitting around, you can make this block today!) As you can see, I wanted my block to have warm colors on one side and cool colors on the other side, so I’m cutting my strip lengths accordingly. But you can also make the colors random, do one color per round, etc.

2. Stitch the first two pieces. Log cabin blocks are pieced from the center outwards, so start with your two 2.5” squares and place them right sides together. Stitch along one side, 1/4” from the edge, as shown.

I like to press my seams open, especially when making a block like this, where seams don’t have to align. I like the flatter, crisper look of an open seam. But you can also press to the side—I just recommend always pressing out (towards what will be the outer edge of the block).

3. Add the next strip. Now that we’ve got the center two pieces together, it’s time to add another “log”. Take one of your 4.5” long strips and place it right sides together with the two squares you sewed previously. Stitch along the long edge, 1/4” from the edge.
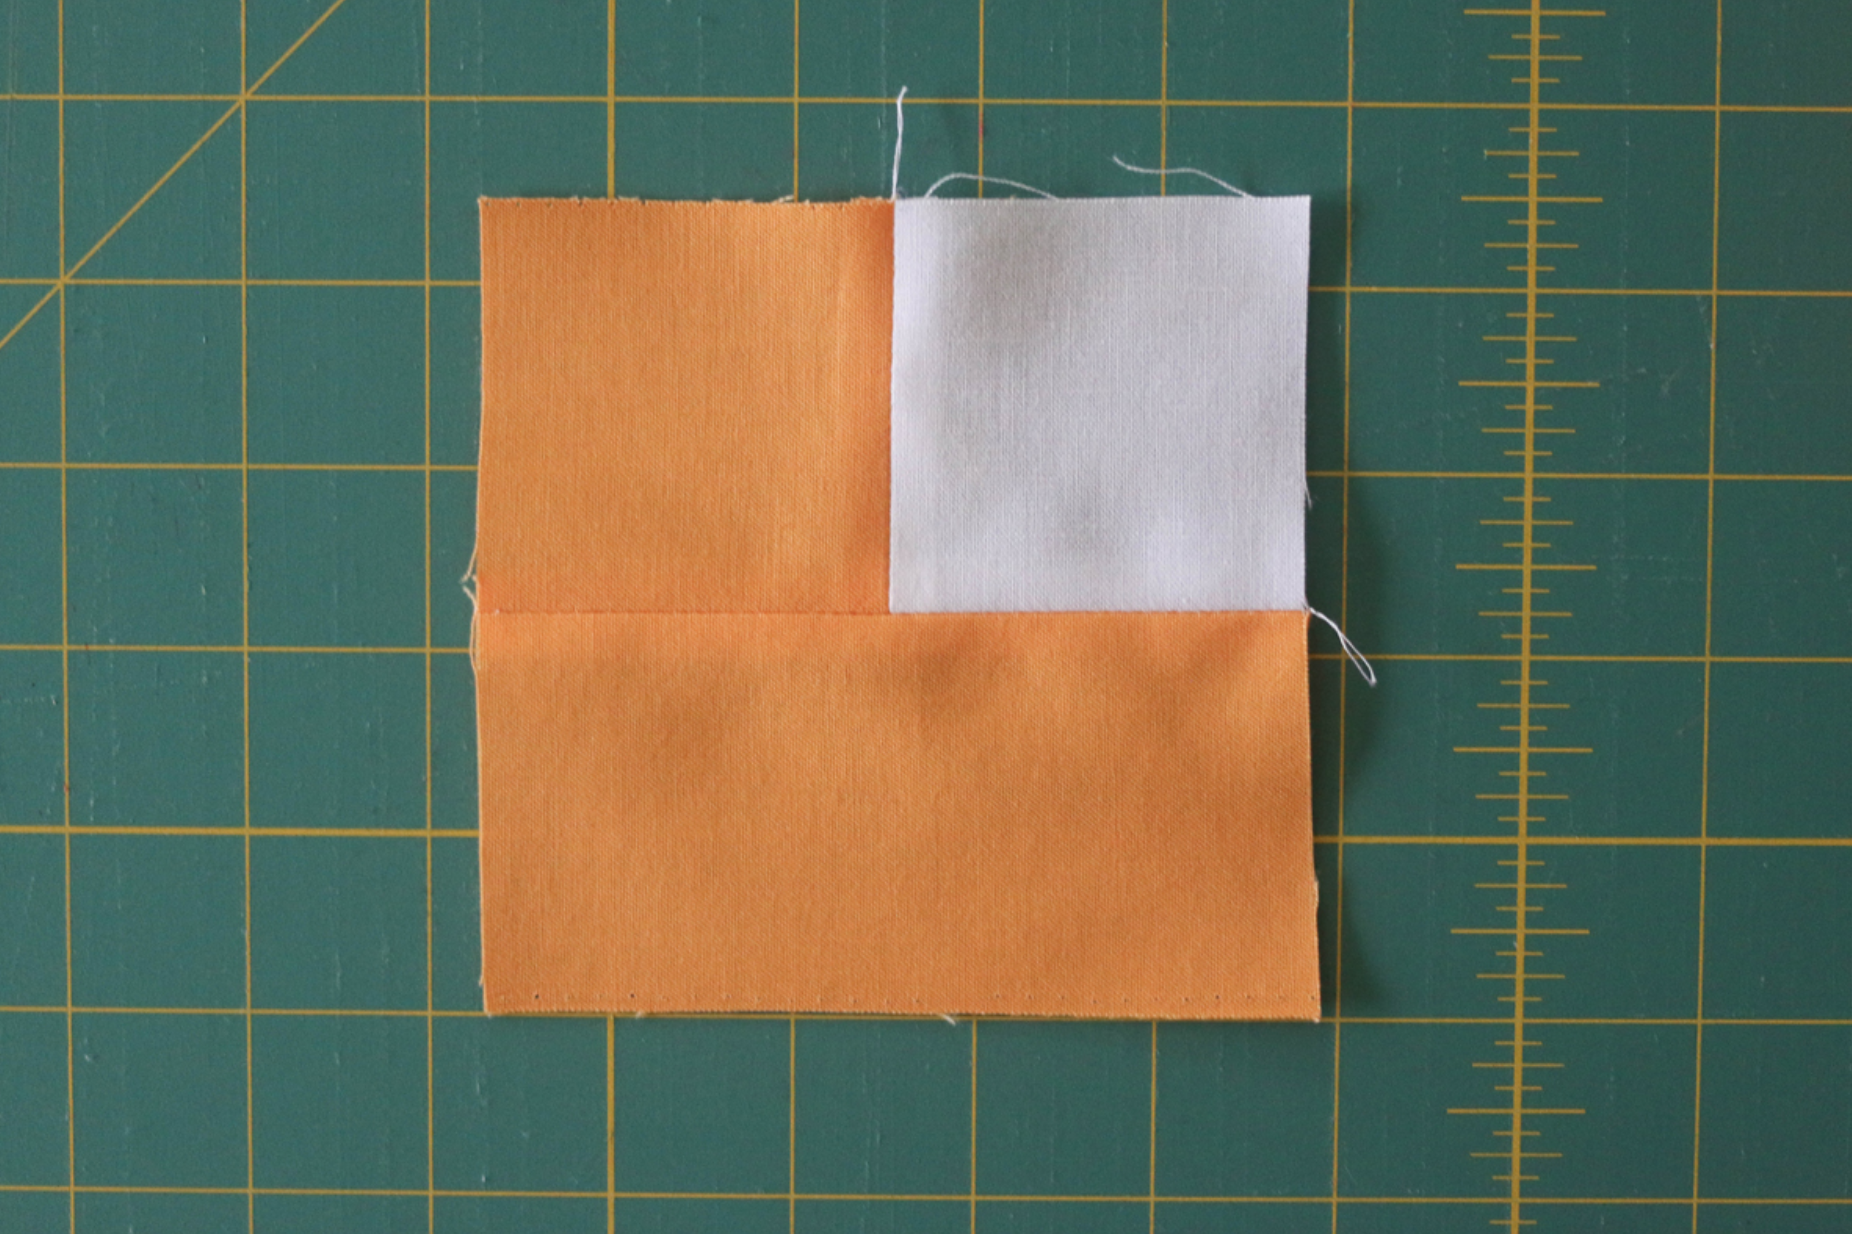
Press open.
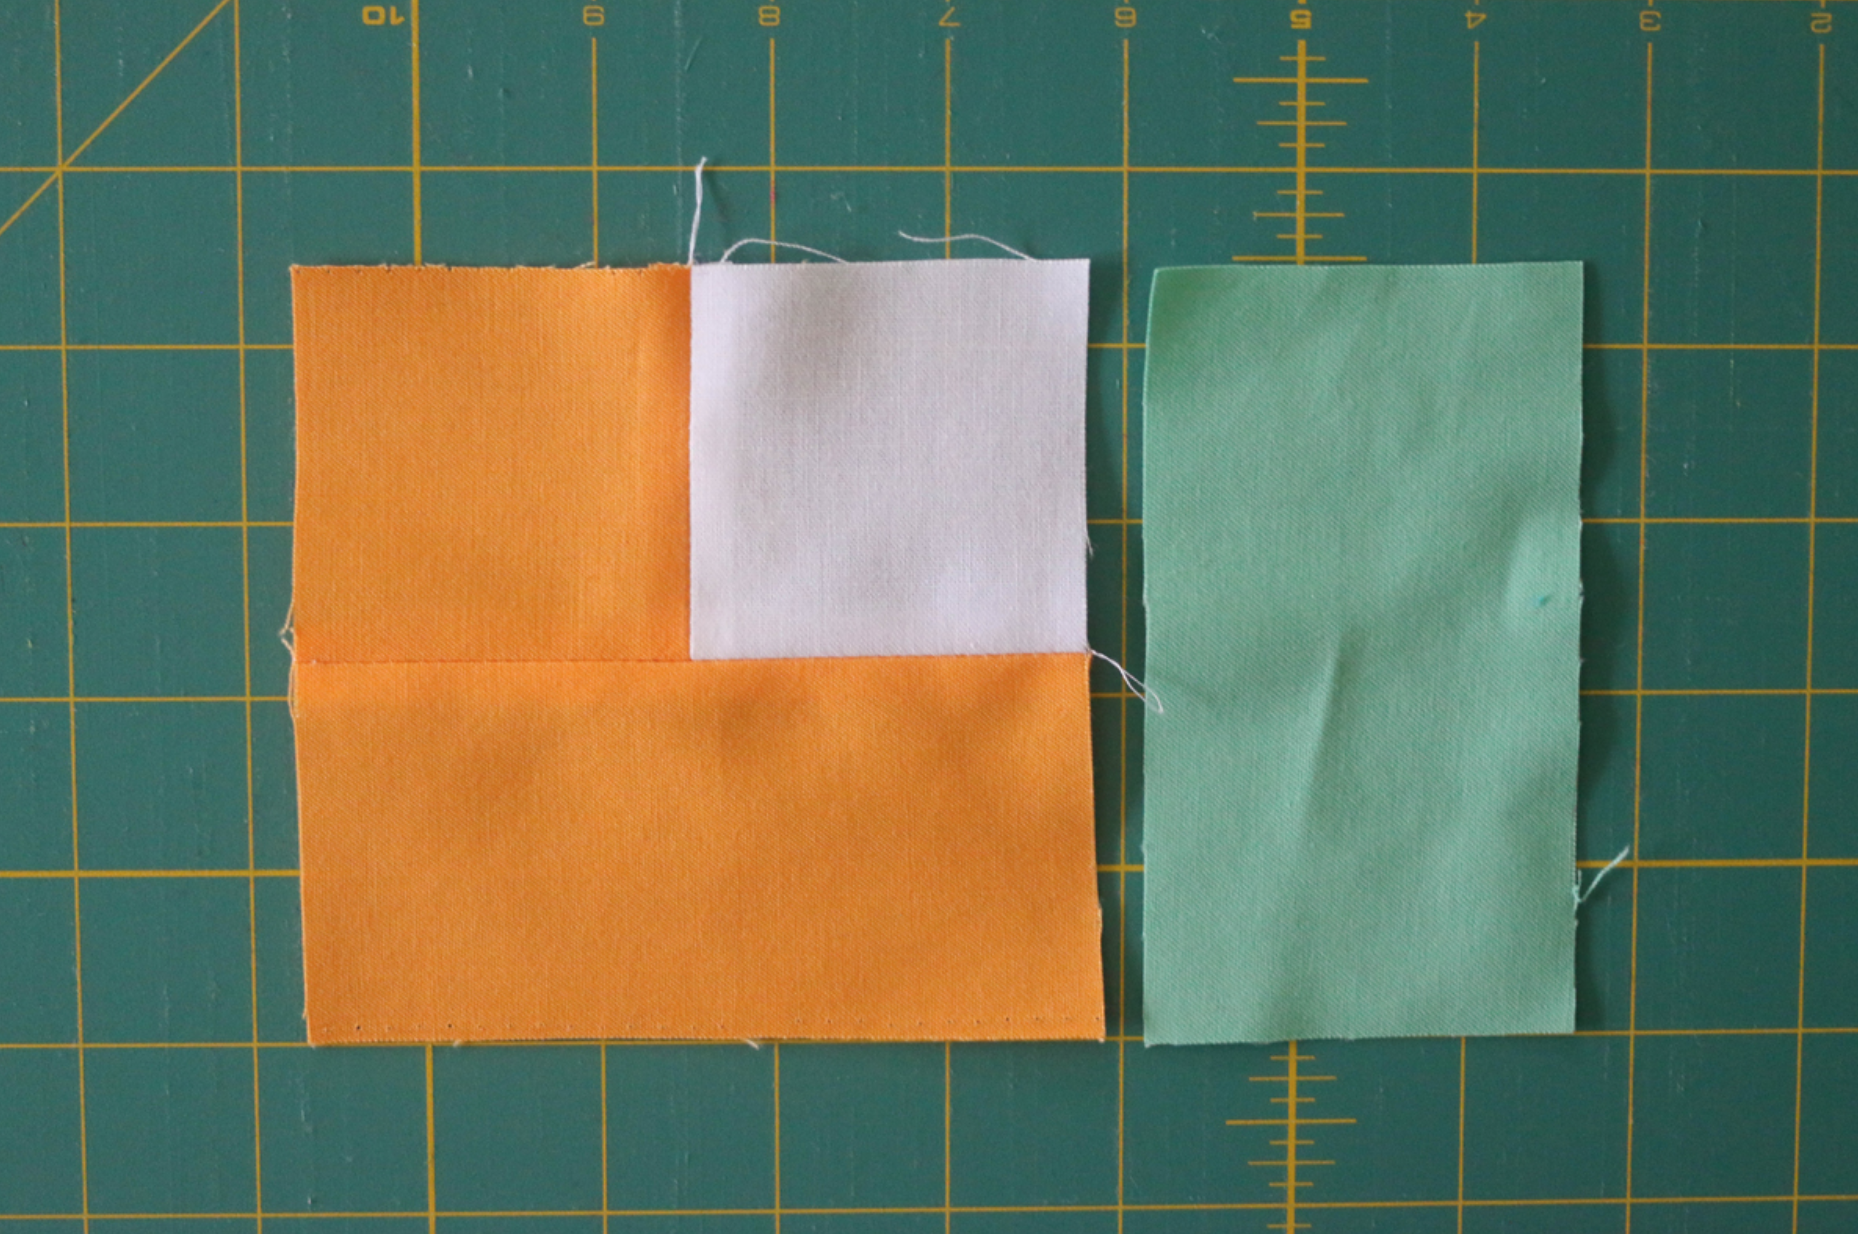
4. Finish piecing the first round of strips. Next, we’ll add another 4.5” strip—in my case, a green one, because now we’re working on the cool-color side of the block. When adding this log, be sure to go in either clockwise or counter-clockwise order—and stick with that same order the whole time you’re piecing the block! Adding the strips in order is what will give you that log cabin stair-step look. (Always adding the strips onto opposite sides of the block center instead of going in circular order creates a slightly different design called “Courthouse Steps.”)

Now you’re ready to add the final “log” in this round—a 6.5” strip.

Here’s what your block should look like after adding the first round of strips. As you can see, the center of the block (the white square) is now completely surrounded by more piecing. We’ve also now established which side the warm colors will be on, and which side the cool colors will be on. Be sure to follow that established pattern if you’d like your block to have a warm side and a cool side like mine does.

5. Piece the second round of strips. To start the second round, be sure to go back to the side with the shortest piece from the first round (the orange 2.5” square on the left). We’ll add the coral 6.5” strip to that side.

Again, don’t forget to go in your established clockwise or counter-clockwise direction! I’m going counter-clockwise, so I’m adding the 8.5” coral strip to the bottom.

Add another 8.5” strip on the right.

And finally, a 10.5” strip at the top to complete the second round of “logs”. Looking good!

6. Piece the final round. One more round to go! Let’s return once again to our starting point, which was the left-hand side. We know that’s the starting point because the shortest pieces are on the left. Here I’ll add a 10.5” pink strip on the left and a 12.5” pink strip at the bottom.

Last two pieces. We’ll add the teal 12.5” strip on the right and teal 14.5” strip at the top.

All done and looking gorgeous! At this point, you can square up your block if necessary (or, if you followed the tips in my video, you’ve been squaring it up all along!). You could also keep adding strips to make the block even larger if you would like.

Here’s what the back looks like when you press all your seams open. Almost as pretty as the front. 😊

Here’s another log cabin block, this one made by my 9-year-old! So as you can see, log cabins are indeed beginner-friendly! My daughter’s version shows some of the ways you can modify the log cabin design: She made hers scrappy, and didn’t necessarily piece her strips in the same order each round. It gives it a different look (a bit more improv), but no less fun! This block also shows that you don’t need to use the same width strips or even use a square for the center. Mix it up and see what happens!
And if you’re struggling with your log cabin blocks, I have a video with tips for keeping your blocks square and precise! Click here to watch my tip video.